_edited.png)
Fixing Drywall Cracks: A Simple Guide to Repair Drywall Cracks
- Jose Fugon
- Mar 2
- 4 min read

Drywall cracks are a common issue in many homes. They can appear for various reasons, such as settling foundations, temperature changes, or humidity fluctuations. Left unattended, these cracks can worsen and affect the overall look and integrity of your walls. Fortunately, fixing drywall cracks is a straightforward task that you can handle yourself with the right tools and techniques. In this guide, I will walk you through the process step-by-step, making it easy and stress-free.
Why You Should Repair Drywall Cracks Quickly
Cracks in drywall are more than just an eyesore. They can signal underlying problems or lead to bigger issues if ignored. Repairing drywall cracks promptly helps maintain your home’s value and prevents further damage. It also keeps your walls smooth and ready for painting or decorating.
When you repair drywall cracks early, you avoid costly repairs down the line. Small cracks are easier to fix and require less material and effort. Plus, a well-maintained wall improves your home’s overall appearance and comfort.
How to Repair Drywall Cracks: Step-by-Step
Repairing drywall cracks is a manageable DIY project. Here’s how I approach it:
Prepare the Area
Start by cleaning the crack and the surrounding wall. Remove any loose debris or peeling paint with a putty knife or sandpaper. This ensures the repair material adheres well.
Widen the Crack Slightly
Use a utility knife to widen the crack just a bit. This might seem counterintuitive, but it helps the compound fill the crack completely and bond better.
Apply Joint Compound
Using a putty knife, apply a thin layer of joint compound over the crack. Press firmly to fill the gap. Smooth the surface as much as possible.
Embed Drywall Tape
For larger cracks, place drywall tape over the wet compound. This reinforces the repair and prevents the crack from reappearing. Press the tape down gently and cover it with another layer of compound.
Let It Dry and Sand
Allow the compound to dry completely, usually 24 hours. Then, sand the area with fine-grit sandpaper until smooth. Be careful not to sand too much and damage the wall.
Apply Additional Coats
For a seamless finish, apply one or two more thin coats of compound, sanding between each. This builds up the surface and hides the repair.
Prime and Paint
Once the final coat is dry and smooth, prime the area to seal the compound. Then, paint to match the rest of the wall.
This process works well for most cracks, whether hairline or wider. With patience and care, your walls will look flawless again.

What is the Best Compound to Repair Drywall Cracks?
Choosing the right compound is key to a durable repair. There are several types of joint compounds available:
All-Purpose Joint Compound
This is the most common and versatile option. It works well for filling cracks, embedding tape, and finishing. It dries relatively fast and sands easily.
Lightweight Joint Compound
Easier to sand and lighter to handle, this compound is great for small cracks and quick repairs. It may shrink less than all-purpose types.
Setting-Type Compound
This compound comes as a powder that you mix with water. It sets chemically and dries faster than pre-mixed compounds. It’s ideal for deep cracks or repairs that need to be done quickly.
For most homeowners and contractors, I recommend starting with an all-purpose joint compound. It balances ease of use, drying time, and finish quality. If you have a large or deep crack, consider a setting-type compound for added strength.
Tips for a Professional-Looking Drywall Crack Repair
To get the best results, keep these tips in mind:
Work in Thin Layers
Applying compound in thin layers prevents cracking and reduces drying time. Multiple thin coats are better than one thick coat.
Use Quality Tools
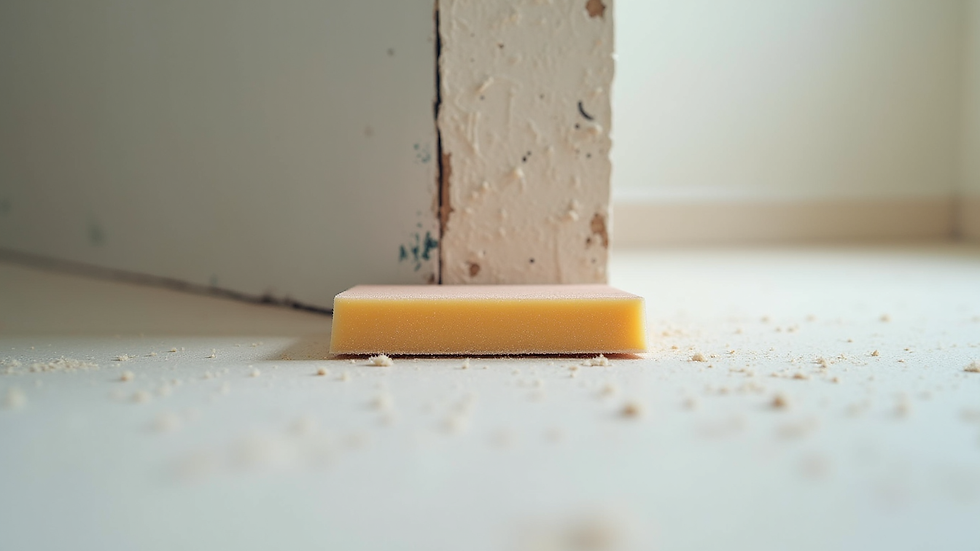
A good putty knife and sanding block make a big difference. They help you apply and smooth the compound evenly.
Sand Gently
Sanding too aggressively can damage the drywall paper and create more work. Use light pressure and fine-grit sandpaper.
Match Paint Color
After repair, use the same paint color and finish as the rest of the wall. This ensures the patch blends in seamlessly.
Be Patient
Allow each coat to dry fully before sanding or applying the next. Rushing can cause cracks or uneven surfaces.
By following these tips, your drywall crack repair will look clean and last for years.
If you want to learn more about drywall crack repair, this guide is a great starting point. Taking the time to do it right will save you money and keep your home looking its best.
When to Call a Professional for Drywall Crack Repair
While many drywall cracks are easy to fix yourself, some situations call for professional help:
Large or Structural Cracks
Cracks wider than 1/4 inch or those that appear suddenly may indicate foundation or structural issues. A professional can assess and address these safely.
Repeated Cracking
If cracks keep reappearing after repair, underlying problems might exist. Experts can diagnose and provide long-term solutions.
Extensive Damage
When cracks cover large areas or are accompanied by water damage, mold, or sagging drywall, professional repair is best.
Hiring a skilled contractor ensures the job is done correctly and prevents future headaches. For homeowners and contractors in Northern Virginia, finding a trusted drywall and painting service can make all the difference in quality and durability.
Your Walls Deserve the Best Care
Fixing drywall cracks is a simple yet important task. With the right approach, tools, and materials, you can restore your walls to a smooth, flawless finish. Remember to work carefully, use quality compounds, and take your time with each step.
Whether you tackle the repair yourself or call in a professional, maintaining your drywall protects your home’s beauty and value. I encourage you to start small and build your confidence. Soon, you’ll be handling drywall repairs like a pro.
If you want to explore more about drywall services or need expert help, consider reaching out to local specialists who understand the unique needs of homes in Northern Virginia. Your walls will thank you for it.


Comments